Tips, Tricks & Product News Importing additional plants into Punch Software


Punch Software does include over 4000 plants; however we’ve probably missed a few, that you may need to better annotate your landscape design.
In today's blog, we are going to show you how to import additional plants, using an image of the plant. These plants can be saved into your library, and be reused on future plans.
Let’s get started.
We found this Image of a Maple tree on Google Images.
Save the image to your computer.
Open the Image in a 3rd party-photo editing software, and paint everything black, except the tree.
This process is called masking.
Once the masked Image is brought into Punch, the black color will show as invisible.
Ok, now that we have the Image masked let's import it into Punch.
Open Punch
File > Import > Plant to library.
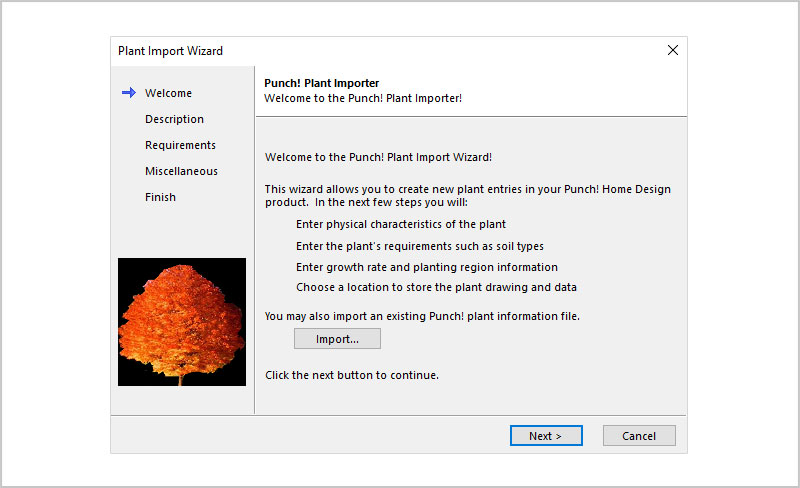
This will open the “Punch Plant Importer”
Click next, and enter in the characteristics of your plant.
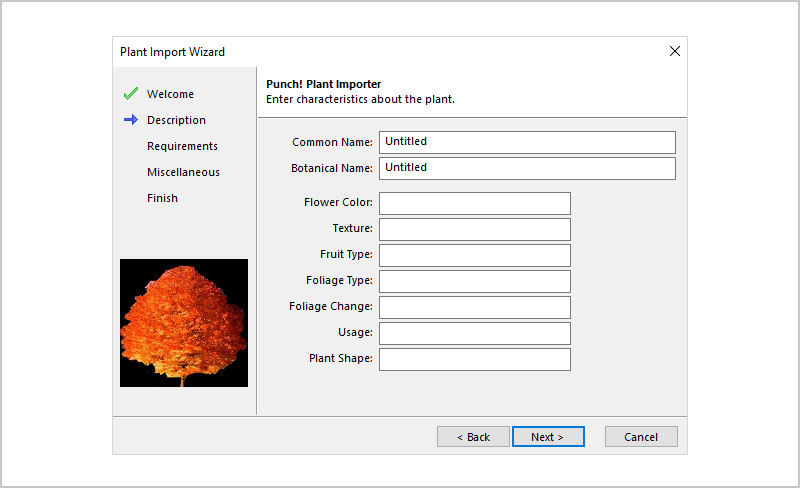
Here is where you will add in the details about your plant.
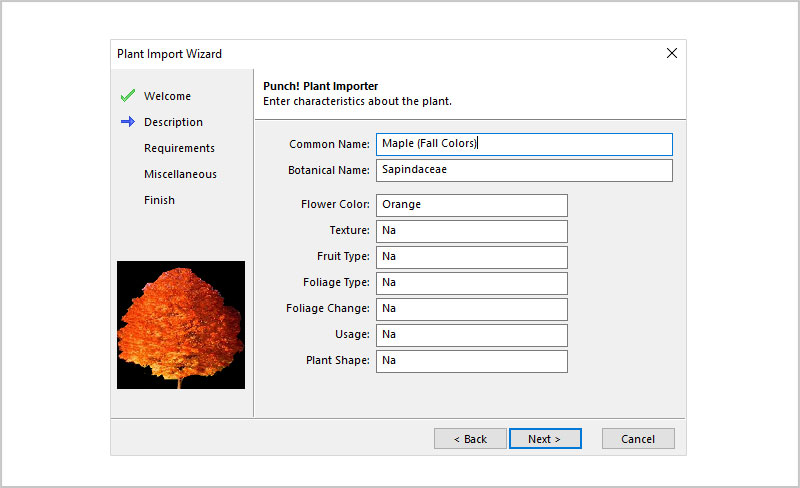
Click Next
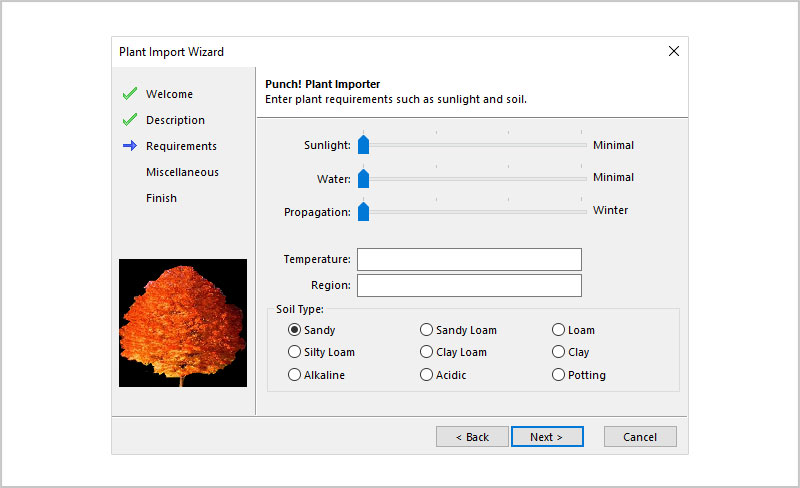
In this screen, you will enter in the sunlight, soil, and water requirements of your plant.
Click Next
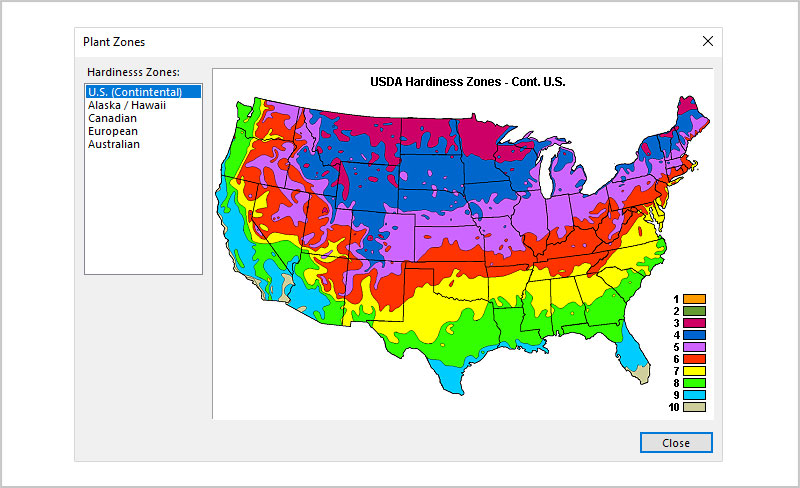
Here you can select the plants growth rate, and the plants hardiness zone, and the plants maximum growth height.

Click on Next and setup a custom folder. We called our folder “Fall Trees”
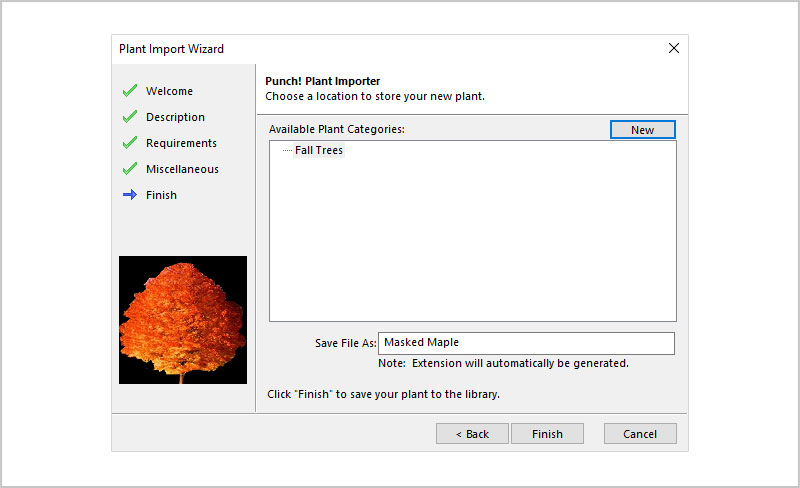
Click on the “Finish” button.
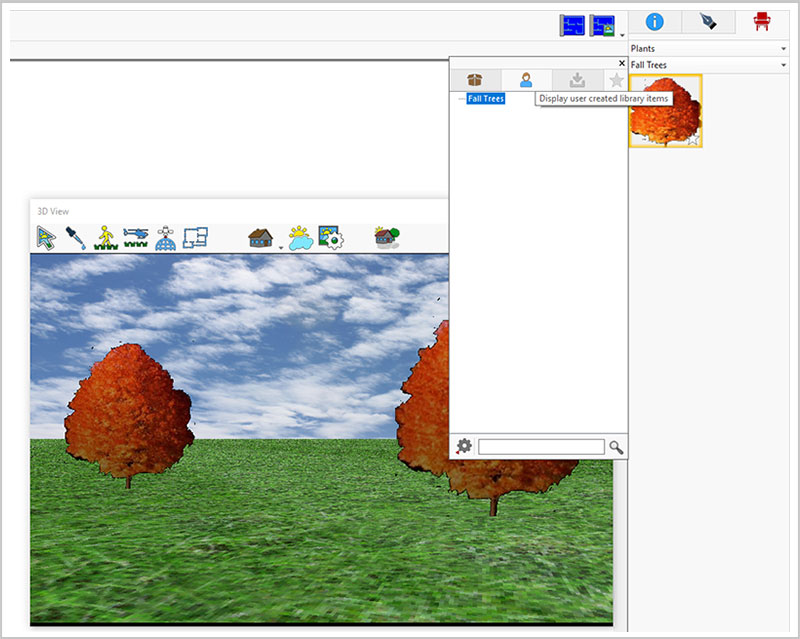
The tree is now saved into your “User Library”
When you want to use it in your design, simply drag the tree onto the 3D view, or place it on your 2D plan view.
As previously mentioned, whatever you paint (mask) black, will show as invisible once it is imported into your Punch drawing.
We hope you can see how easy it is to bring in additional plants, into your Punch Software.


Kitchen Design 101: The Kitchen Triangle
November 6, 2023


Awesome Design Tips for Small Spaces
March 5, 2019


Tips, Tricks & Product News Tips for “Going Green”
January 25, 2024

Kitchen Design 101: The Kitchen Triangle
November 6, 2023

Tips, Tricks & Product News Uses for the “Insert & Delete Point Tool”
February 16, 2023

Tips, Tricks & Product News Punch Software’s Fireplace Wizard
December 5, 2022