Tips, Tricks & Product News "Making a Loft"

Adding a loft is a good way to transform your attic into a practical living area, or storage space.
To make our loft in Punch Software, we will be using 2 basic tools - the Floor and Railing tools.
Let’s talk quickly about how Punch automatically creates ceilings and floors. For each level or floor, that you draw, it comes with an automatic floor and ceiling.
In this example, we have drawn a 2-story house.
We will turn off the ceiling and floor, then we will draw the floor back in manually for the loft on the 2nd floor, and then elevate it into place.
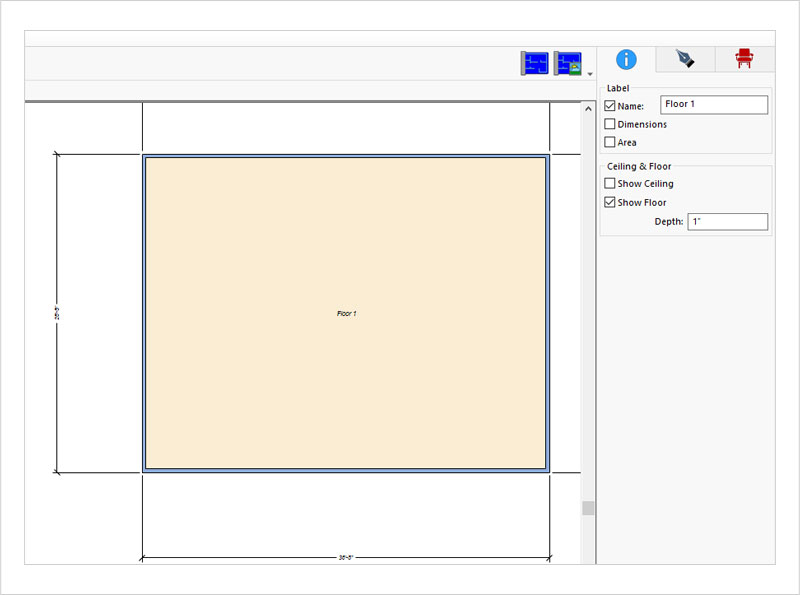
Select the center of the room on your 1st floor, so it is highlighted.
Remove the check next to “Show Ceiling”
Now move up to your 2nd floor and select the center of the room, so it is highlighted.
Remove the checks next to both floor, and ceiling.
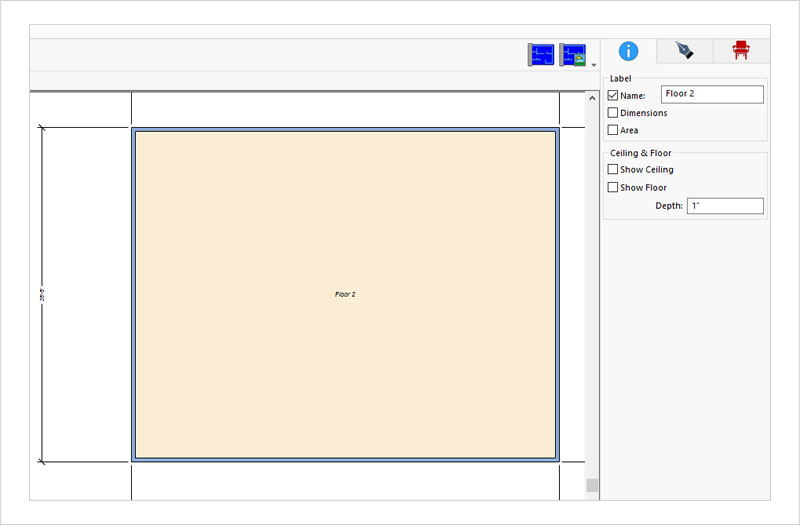
Now we can see all the way up from the 1st floor to the roof.
Let’s draw in the floor for the loft.
Select the “Floor tool” that is located on the Floor Tab.
Draw in the perimeter area where you want the loft, and double-click to stop the drawing process.
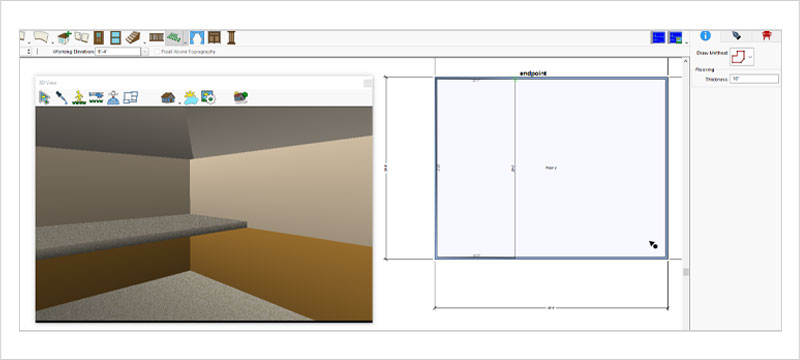
We have given our floor section a thickness of 10” and an elevation of 9” 4”
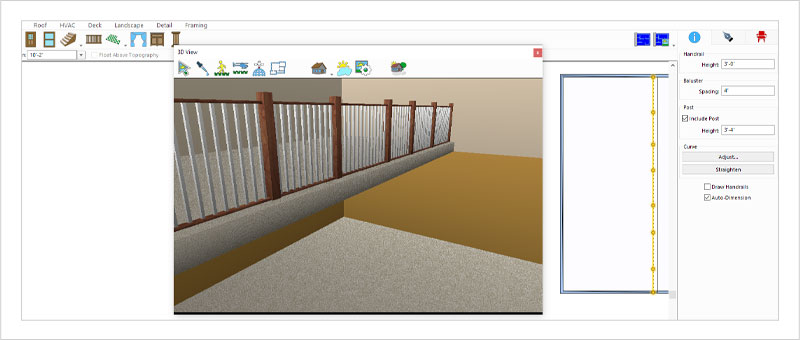
Next we will add some hand railing.
Select the handrail tool.
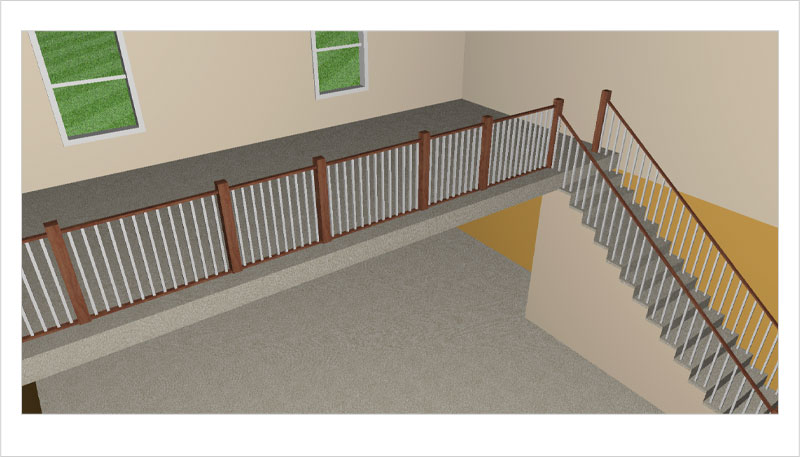
Draw in your railing.
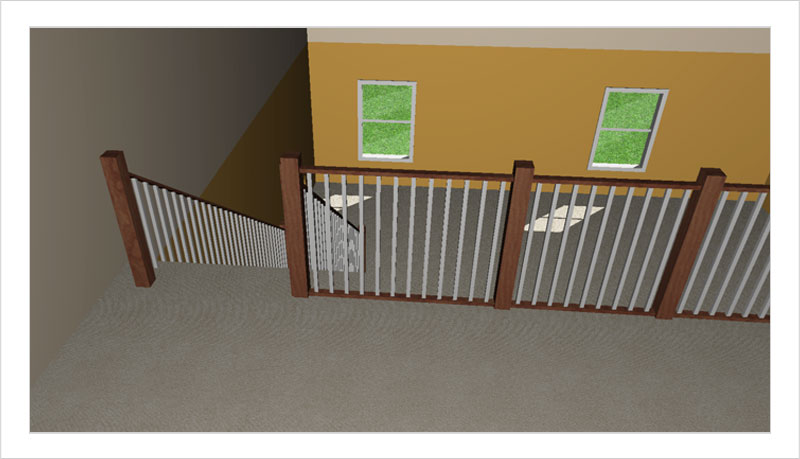
Set the Handrail’s height, and the Baluster’s spacing.
The final step is to elevate the railing into place.


Kitchen Design 101: The Kitchen Triangle
November 6, 2023


Awesome Design Tips for Small Spaces
March 5, 2019


Tips, Tricks & Product News Tips for “Going Green”
January 25, 2024

Kitchen Design 101: The Kitchen Triangle
November 6, 2023

Tips, Tricks & Product News Uses for the “Insert & Delete Point Tool”
February 16, 2023

Tips, Tricks & Product News Punch Software’s Fireplace Wizard
December 5, 2022